
Gluten free flour blends from the store can cost twice as much as regular flour, and every brand bakes a little differently. Making your own blend saves money and gives you total control over taste and texture. Every good all purpose gluten free flour combines a fine grain flour for structure with starches for lightness and tenderness. Add a binder like xanthan gum or psyllium husk, and you can swap it into most cookie, muffin, pancake, and quick bread recipes. This guide shares an easy all purpose blend made with white rice flour, potato starch, and tapioca starch, plus a whole grain version with more fiber and flavor. You’ll learn the simple ratio behind every good blend, how much binder to add for different bakes, and how to store your mix so it stays fresh. Once you’ve mixed a big batch, gluten free baking gets so much easier. Just scoop, measure, and bake whenever a craving strikes.
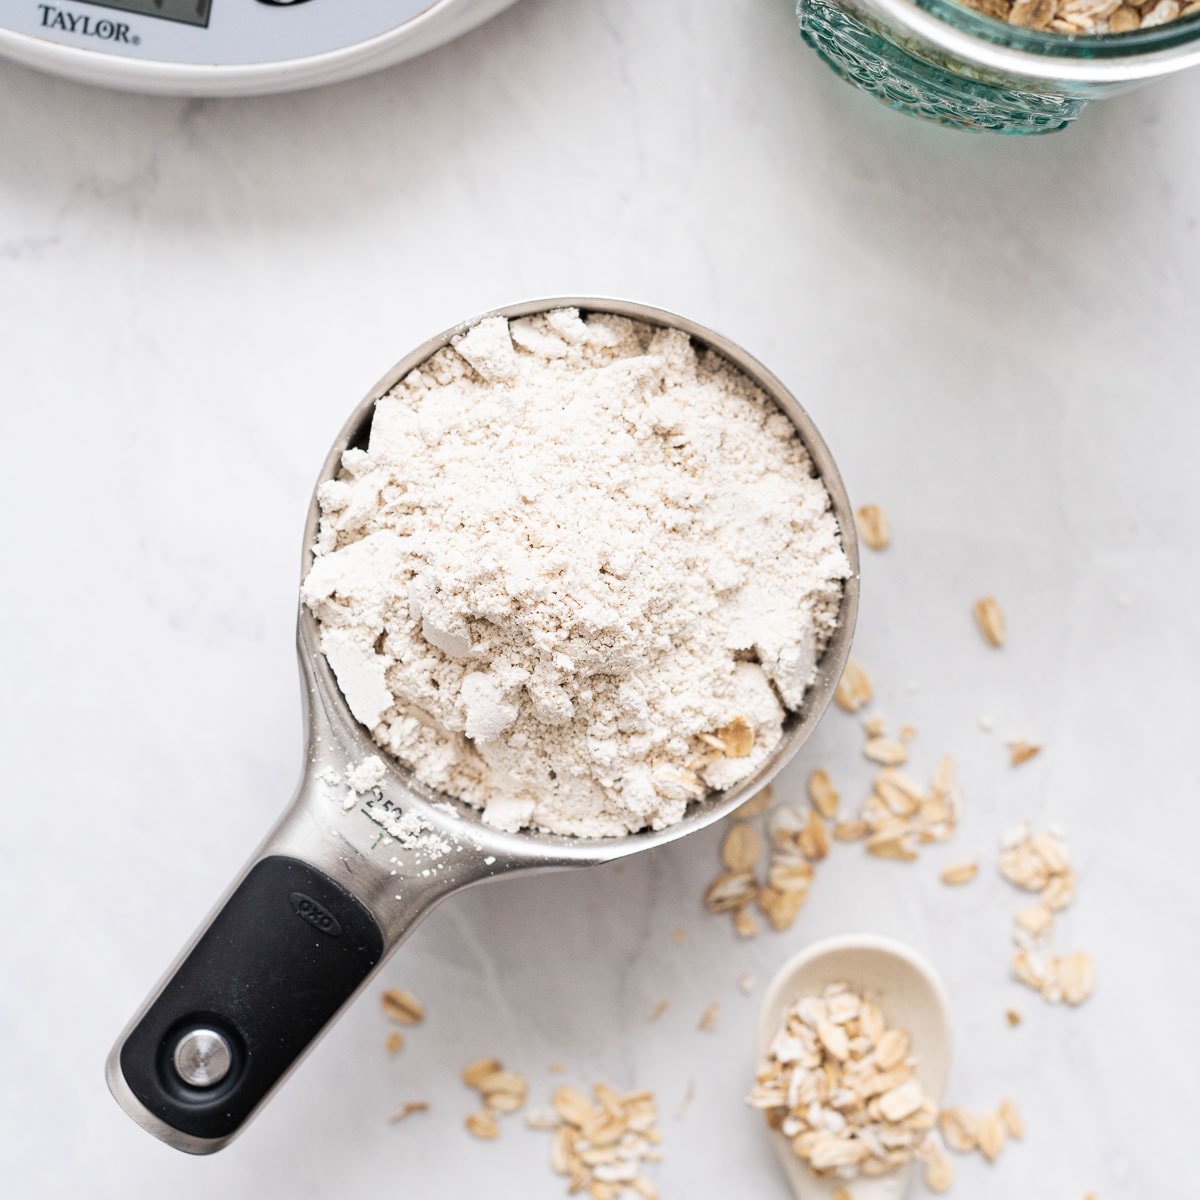
Photo credit: iFoodReal
Simple Ratio Behind Every Blend
Most all purpose gluten free blends follow roughly 60 percent grain flour and 40 percent starch. Grain flours like white rice, brown rice, and sorghum give structure and flavor. Starches like potato starch, tapioca, and cornstarch keep baked goods light and tender.
- Grain flours, about 60 percent of the blend
- Starches, about 40 percent of the blend
- Binder added separately based on what you bake
Classic All Purpose Gluten Free Flour Blend
- Two cups superfine white rice flour
- Two thirds cup potato starch, not potato flour
- One third cup tapioca starch
Whole Grain Gluten Free Flour Blend
- One cup brown rice flour
- One cup sorghum flour
- Two thirds cup potato starch
- One third cup tapioca starch
Step 1. Measure Carefully
Spoon each flour into the measuring cup and level it with a knife. Scooping straight from the bag packs in too much flour. If you own a kitchen scale, weigh your ingredients for the most consistent results.
Step 2. Whisk Very Well
Add everything to a large bowl and whisk for at least a full minute. Starches can clump, so break up any lumps as you go. Thorough mixing makes sure every scoop bakes the same way.
Step 3. Add Binder When You Bake
Leave the binder out of the main blend so you can adjust it for each recipe. Use about a quarter teaspoon of xanthan gum per cup of blend for cookies. Use about half a teaspoon per cup for cakes, muffins, and quick breads, and up to one teaspoon per cup for yeast breads and pizza dough.
Step 4. Store It Airtight
Pour the blend into a large airtight container and label it with the date. Keep white rice blends in the pantry for a few months. Whole grain blends last longer in the fridge or freezer because brown rice and sorghum contain natural oils.
Step 5. Swap It Into Recipes
Replace regular all purpose flour cup for cup in most cookies, muffins, pancakes, and quick breads. Let batters rest ten minutes before baking so the flours can hydrate. Expect yeast breads to need extra liquid and a little more binder.
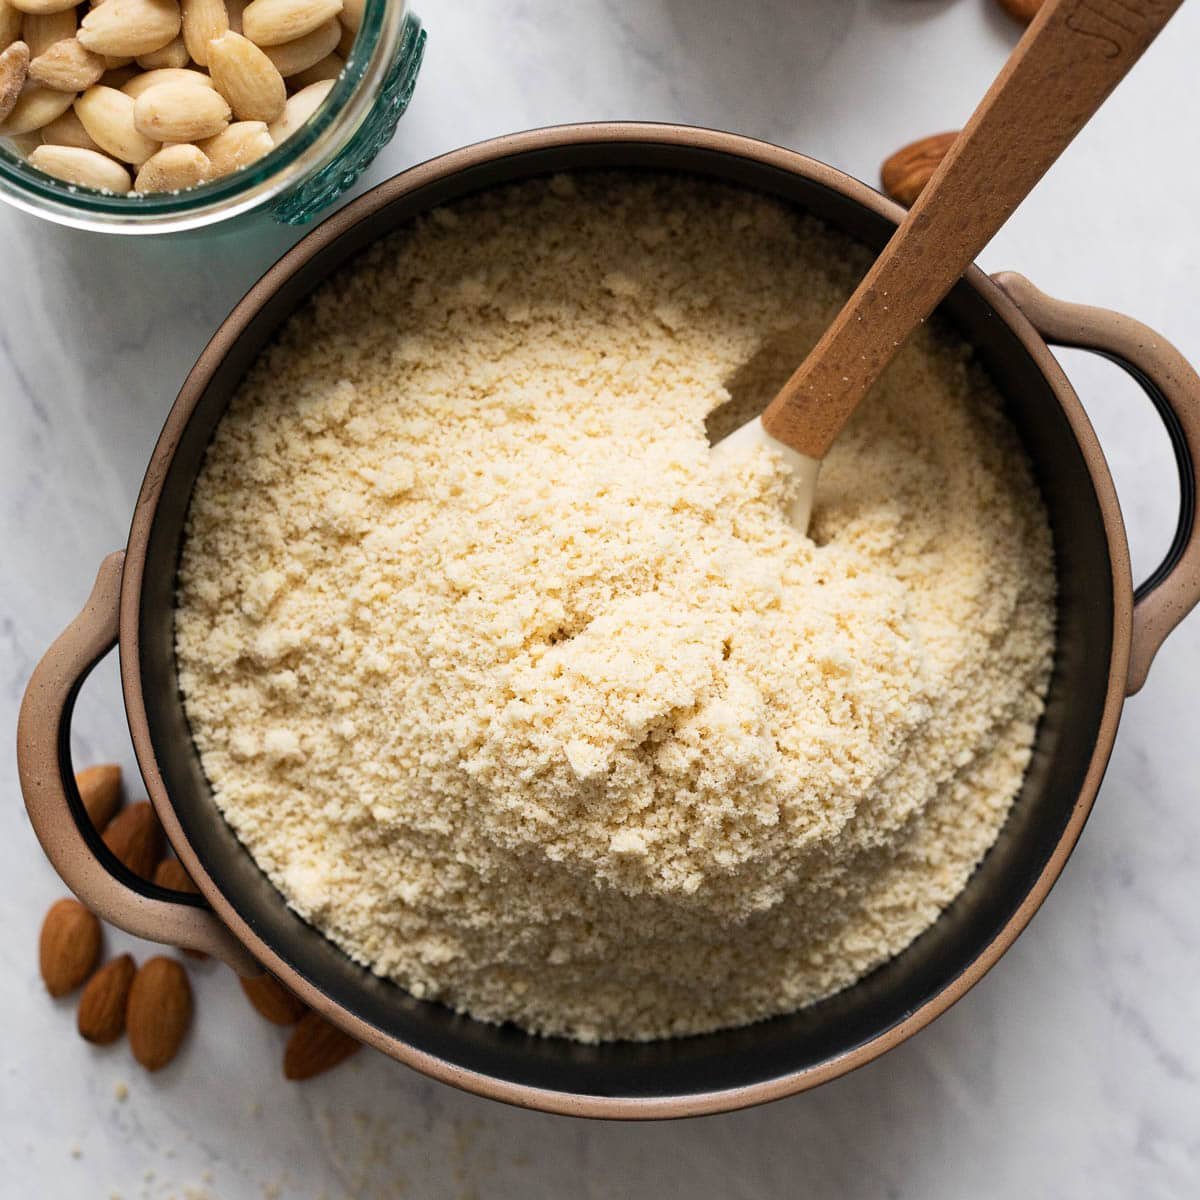
Photo credit: iFoodReal
Want even more options? Learn how to make almond flour for grain free baking, or how to make oat flour from certified gluten free oats.
Tips for Gluten Free Flour Blend Success
- Buy superfine rice flour so baked goods are not gritty
- Use potato starch, not potato flour, since they behave very differently
- Choose certified gluten free flours to avoid cross contact
- Make a double batch so you always have some on hand
- Add psyllium husk instead of xanthan gum if you prefer
Wrapping Up
Your own gluten free flour blend saves money and makes everyday baking so much easier. Mix a batch this week and try it in your favorite muffin or cookie recipe. Ready to bake bread? Try our easy gluten free sandwich bread next.
What will you bake first with your homemade blend? Tell us in the comments below!